


Why Lash Artists are Ditching the Massage Table (And What to Set Up Instead)
Why Lash Artists Are Ditching the Massage Table (And What to Set Up Instead)
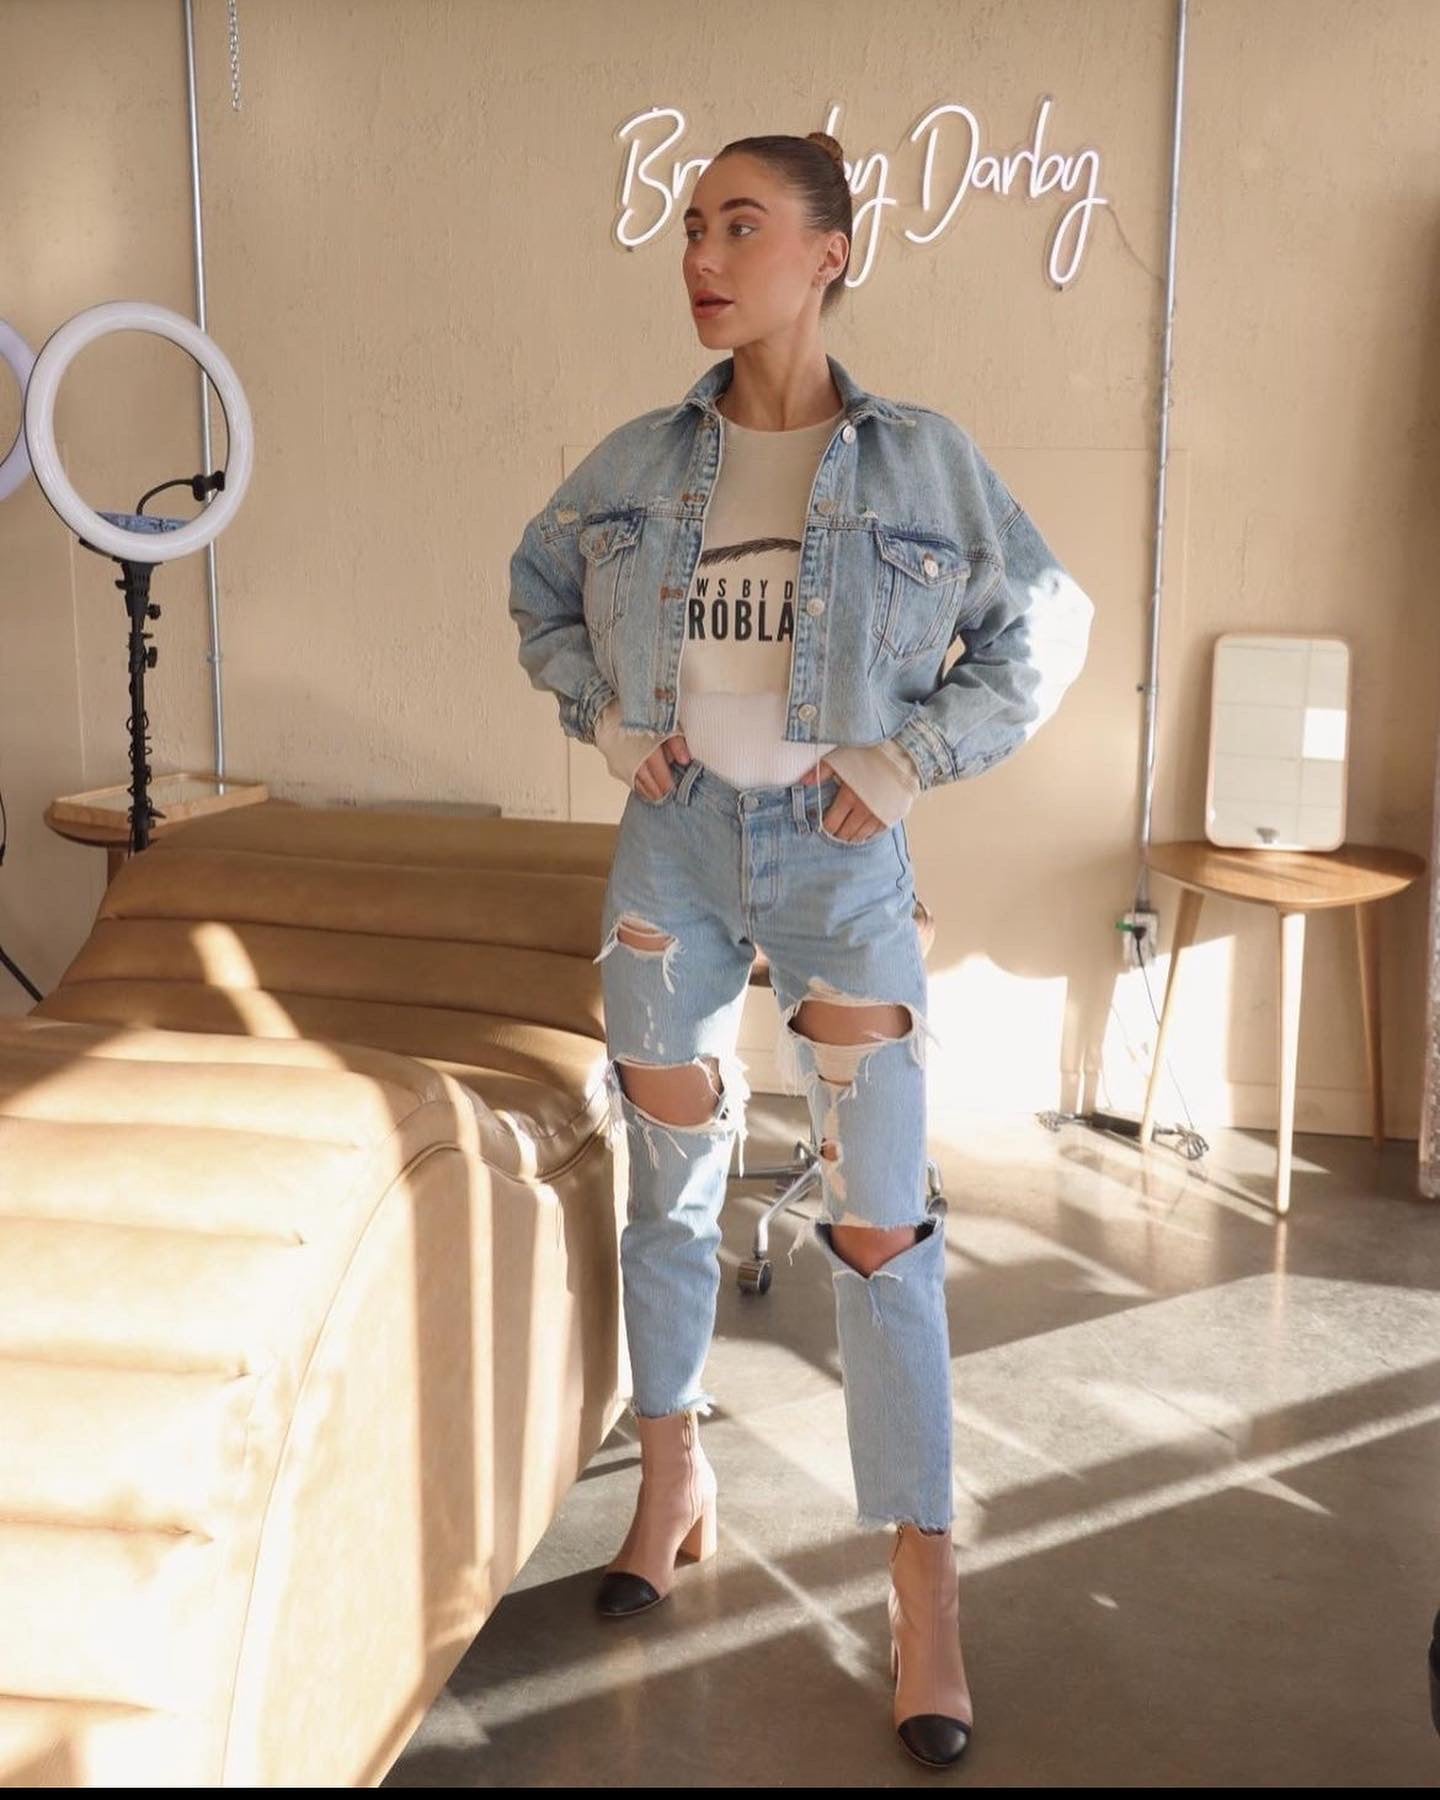
You started with a massage table. It made sense. It was affordable. It was available. And it looked professional enough.
But somewhere between your first client and now — probably around your fifteenth lash set — you realized it's not working.
Your back hurts. Your shoulders are tight. You're reaching and twisting to get the right angle on the client's lashes, and your arms are already fatigued by the third set of the day. The client shifts slightly mid-application, and now the line is off. You fold a blanket under her head. You add a topper. You pile on pillows and try to MacGyver a comfortable position.
And the room looks like a laundry service exploded.
The real problem isn't you. It's the furniture.
Massage tables are built for massage therapists. A massage therapist stands alongside the table, so the leg placement makes sense for that position. A massage therapist isn't working at the head of the table for two hours, staring downward at millimeter-precision details while forcing their body into angles that wreck their spine.
You are.

Why The Massage Table Doesn't Work For Lash Artists
The first problem is positioning. Massage table legs are set up for the therapist to stand beside the client. That design makes sense for massage. It makes no sense for lash work. When you sit at the head of a massage table — the position where lash artists actually work — the table legs force you into a posture that's going to destroy your back. You're either sitting too low relative to the client's eyes, or hunching over, or twisting your shoulders into unnatural angles. After doing this for 40 clients a week, your body revolts.
The second problem is that massage tables are ugly without additions, and the additions are where things fall apart. A bare massage table in a lash room looks clinical and cheap. So you layer on toppers, bolsters, decorative pillows, colored sheets, and anything else to make it feel professional. Now every time a client leaves, you've got wet pads, used sheets, and pillows to wash. You're running laundry constantly. You're spending money on replacements. Your room never feels put-together because there's always a pile of fabrics somewhere.
The third problem is longevity. A standard massage table is plywood with foam glued on top. When your client lies down, the foam compresses against that hard base under her full body weight. Over time — and with lash clients, it happens faster because you're applying pressure at the head of the bed — the foam breaks down. It flattens. It stops feeling comfortable. After two years, your expensive table feels like a board.
Meanwhile, your clients are asking if they can bring a pillow from home because lying on your table hurts their neck.
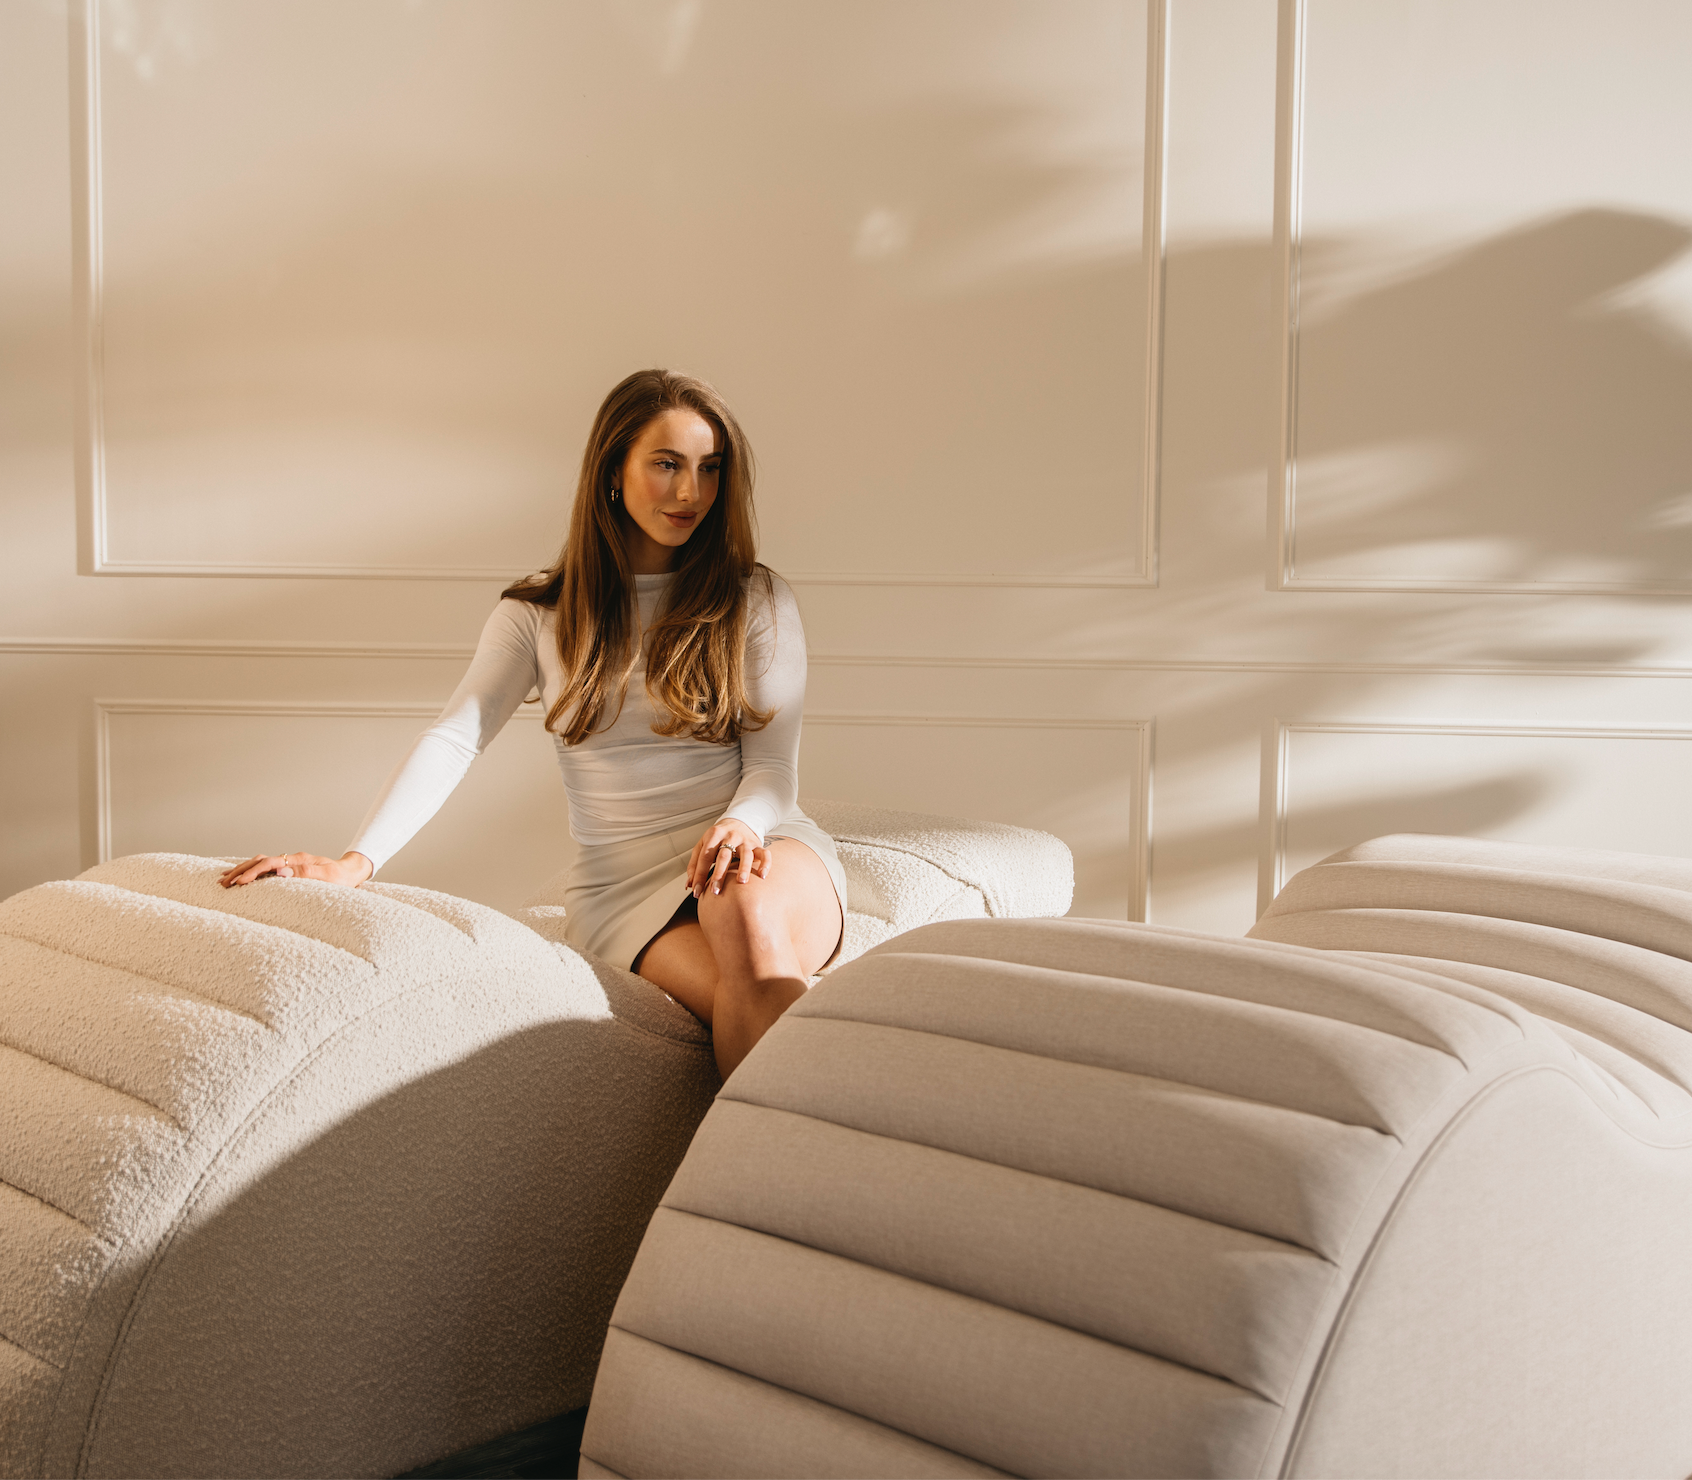
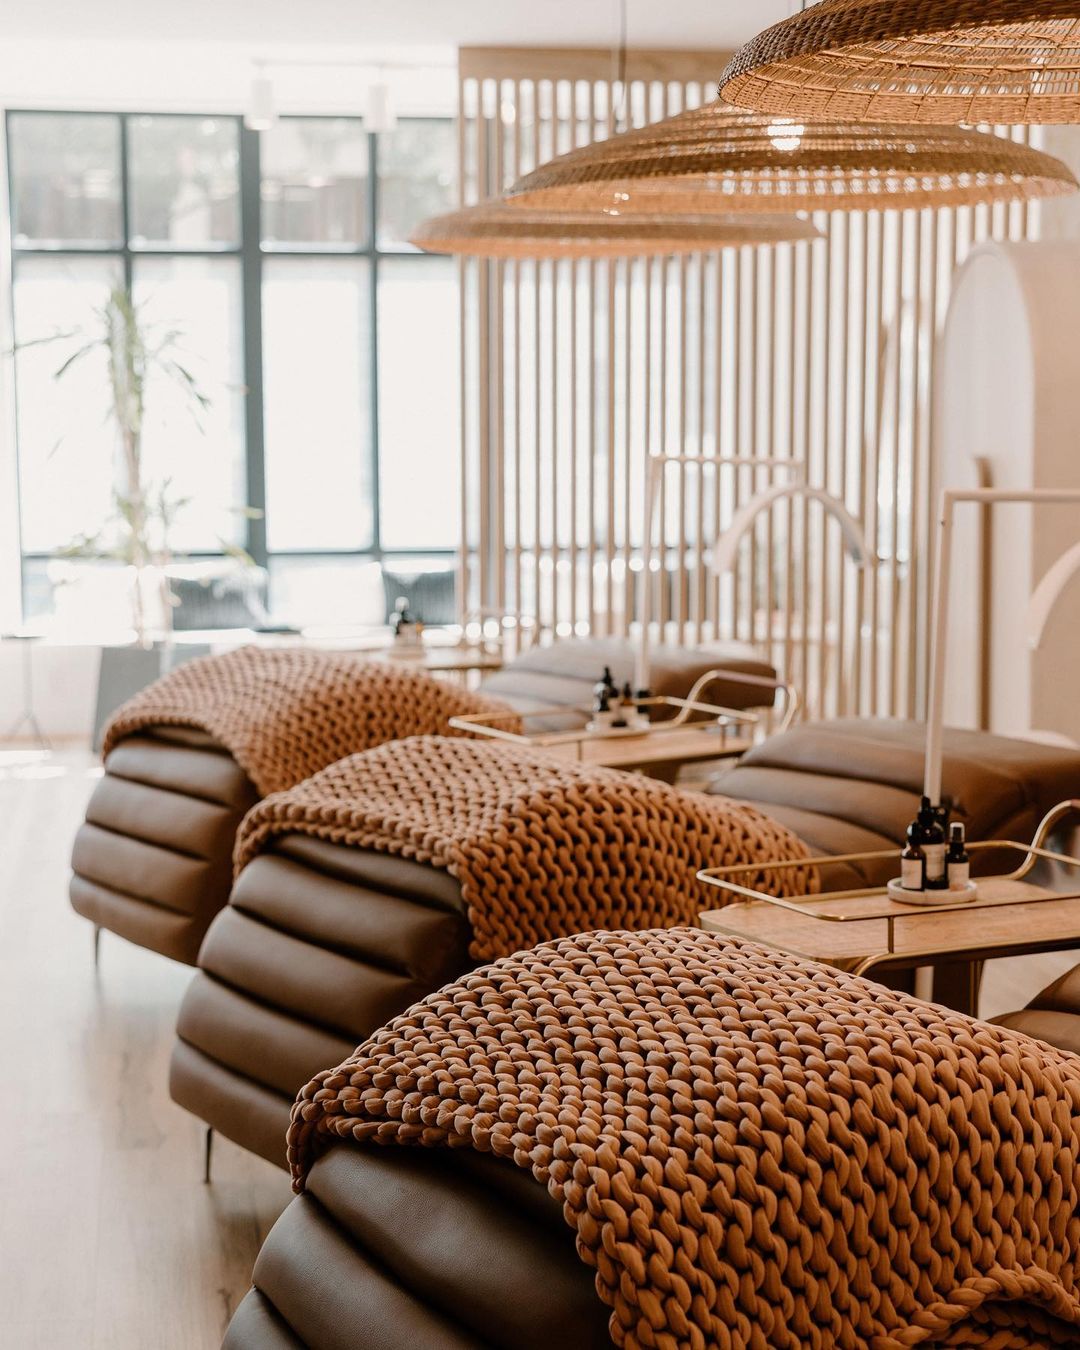
Our pick: The Edda Lash Bed by Plush + Oak. 
-
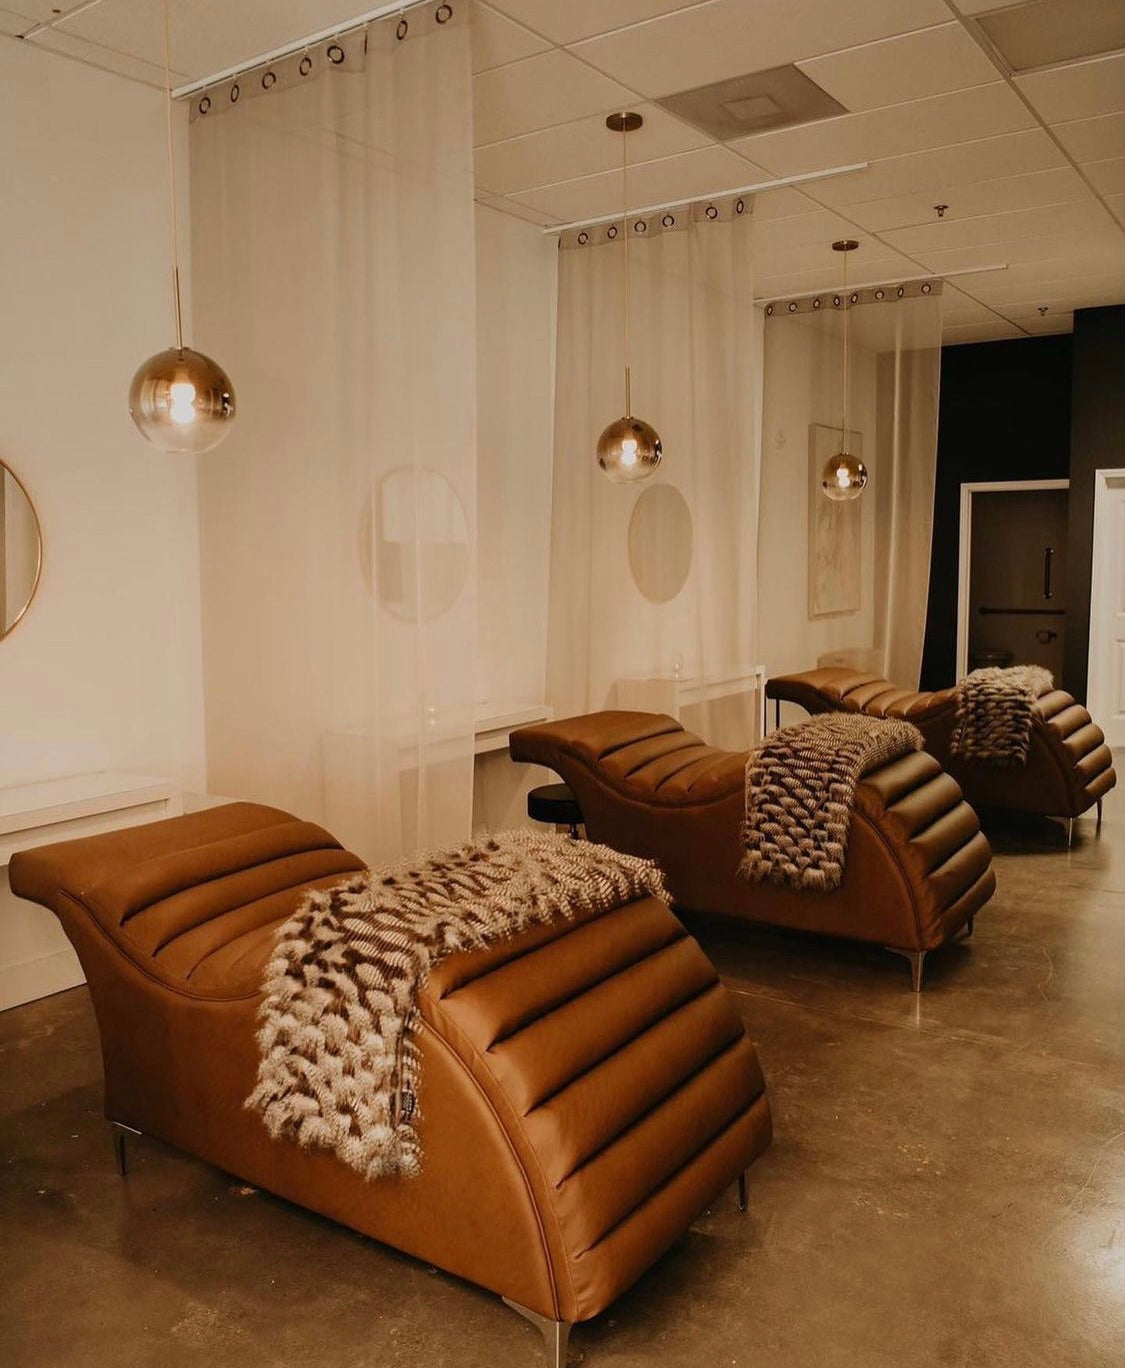
What Thousands Of Lash Artists Are Using Instead
The best lash studios in the world aren't using massage tables anymore. They're using beds designed for precision work at the head — which means they're using Plush + Oak.
Here's what changes when you switch:
The first thing you notice is the ergonomic curve. This isn't a pillow under the head — it's an anti-gravity curve built into the structure of the bed itself. When your client lies down, the curve cradles her head and neck naturally and holds her at the exact angle that's perfect for lash work. You don't need to adjust her. You don't need to fiddle with pillows. The bed does the positioning work. She stays still. Your lines stay clean.
The second thing is the open leg clearance. Plush + Oak beds are designed specifically for artists who work at the head. The legs are positioned so you can sit comfortably, pull your stool close, and get the angle you need without your knees hitting metal. You can stretch your legs. You can sit naturally. Your back stays neutral.
Third is the construction. Under the foam is a tensile webbed suspension system — the same engineering principle as a luxury sofa, not a budget salon bed. The foam doesn't compress against plywood. It floats. When you press on it, it responds. It feels springy. Clients actually ask what they're lying on because it's the most comfortable bed they've ever experienced during a beauty service. And because the foam isn't being crushed against a hard base, it lasts. It doesn't flatten. It stays cloud-like for years.
Fourth is simplicity. No sheets. No toppers. No laundry piles. The surface wipes down in seconds with a damp cloth. Your room looks clean and intentional. You're not managing fabrics constantly.
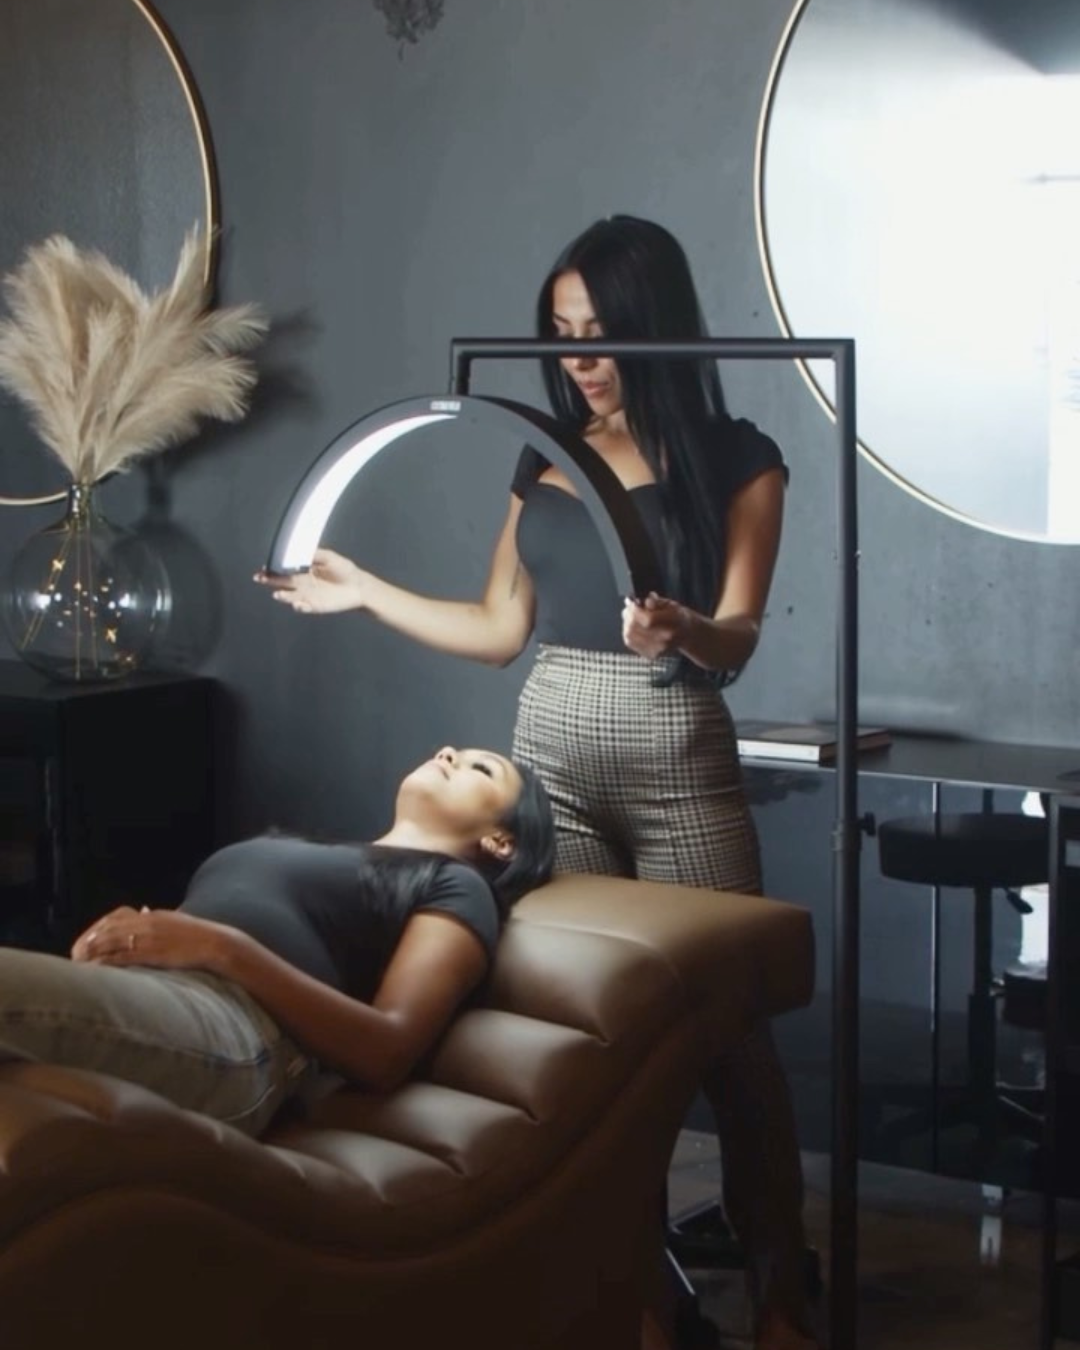
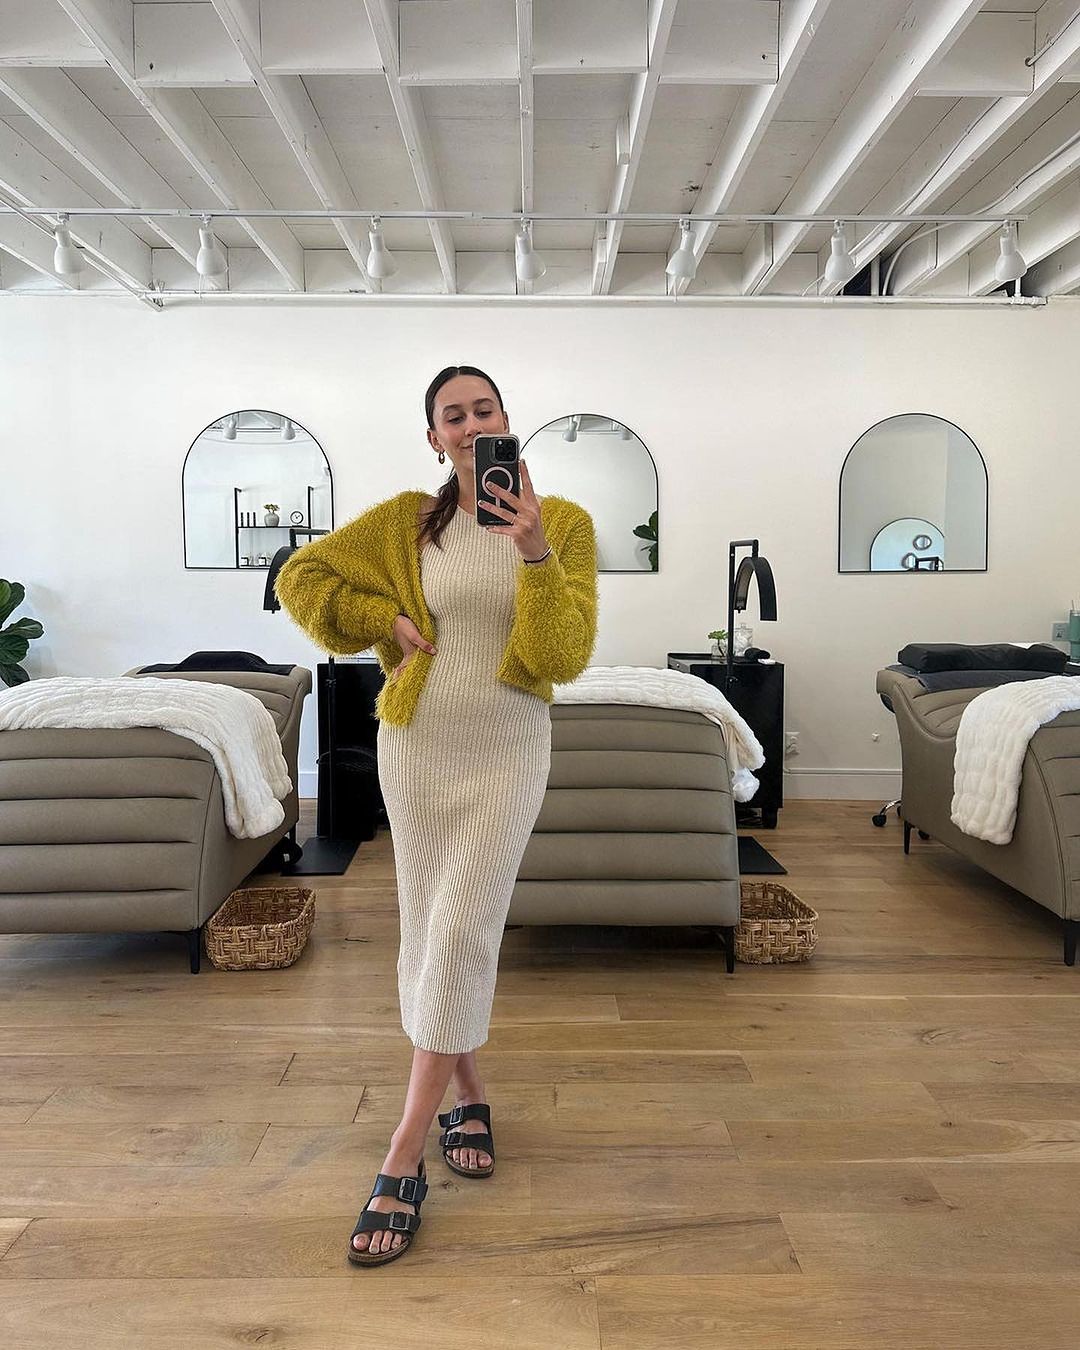
Our pick: The CosmoGlo Light (pictured with The Brynn bed by Plush + Oak)
The Instagram test: Take your phone and photograph your lash room before a client arrives. If the photo doesn't look good, your lighting needs work.
The Ideal Lash Room Setup
Here's exactly what you need:
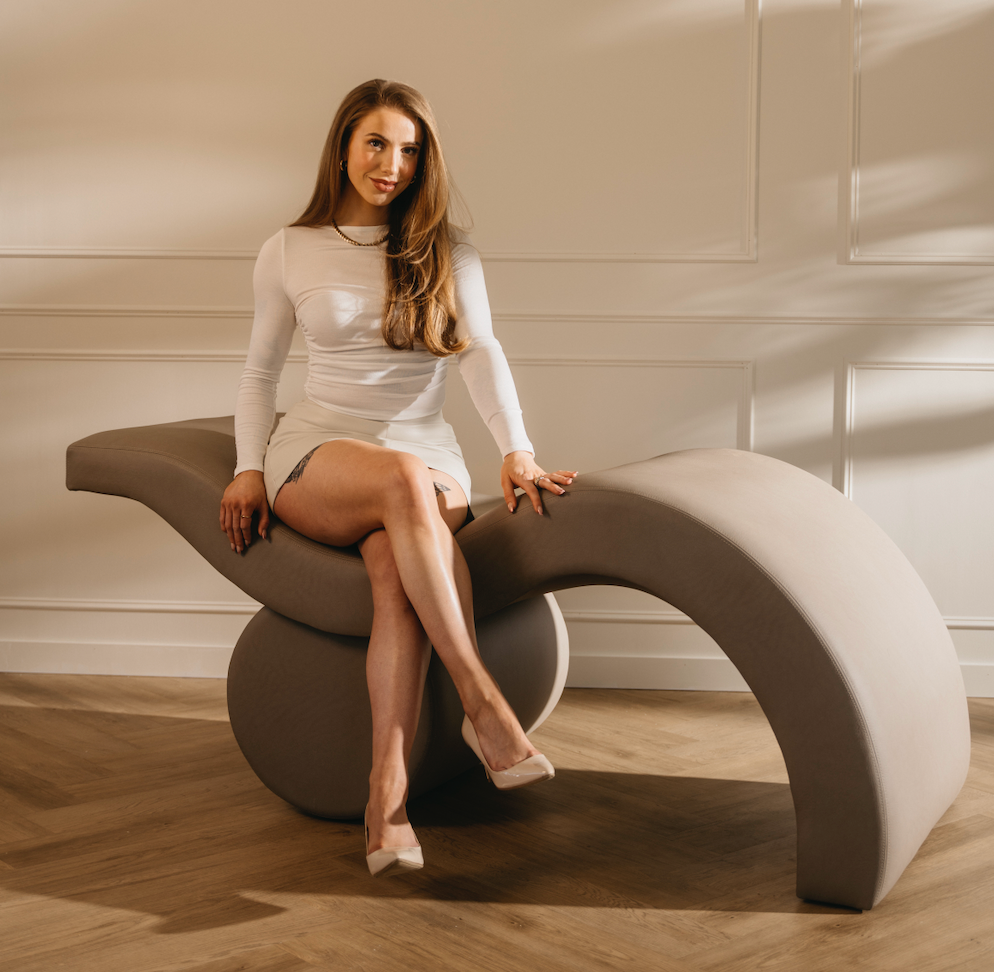
Start with The Edda Cloud or The Brynn. Both feature the anti-gravity curve that makes lash work feel effortless. Both come in custom colors so your bed matches your brand, not the other way around. The Edda Cloud is the bestseller among lash artists — it's deeper in the curve and creates an almost cloud-like feeling. The Brynn has a slightly less pronounced curve and works beautifully for artists who want that option.
Add The Stool. This isn't an office chair. It's designed specifically for artists — low back, open rear design to keep your tailbone from getting compressed, quiet wheels, and a height that pairs perfectly with the bed. When you're sitting on the right stool at the right bed, your posture stays neutral and your body doesn't fatigue.
That's it. You're done.
The bed, the stool, and a clean room. No pillows. No sheets to manage. No toppers. No accessories. Just furniture that works exactly how you need it to work, that looks like you meant it to be there, and that your clients will ask about on Instagram.

-
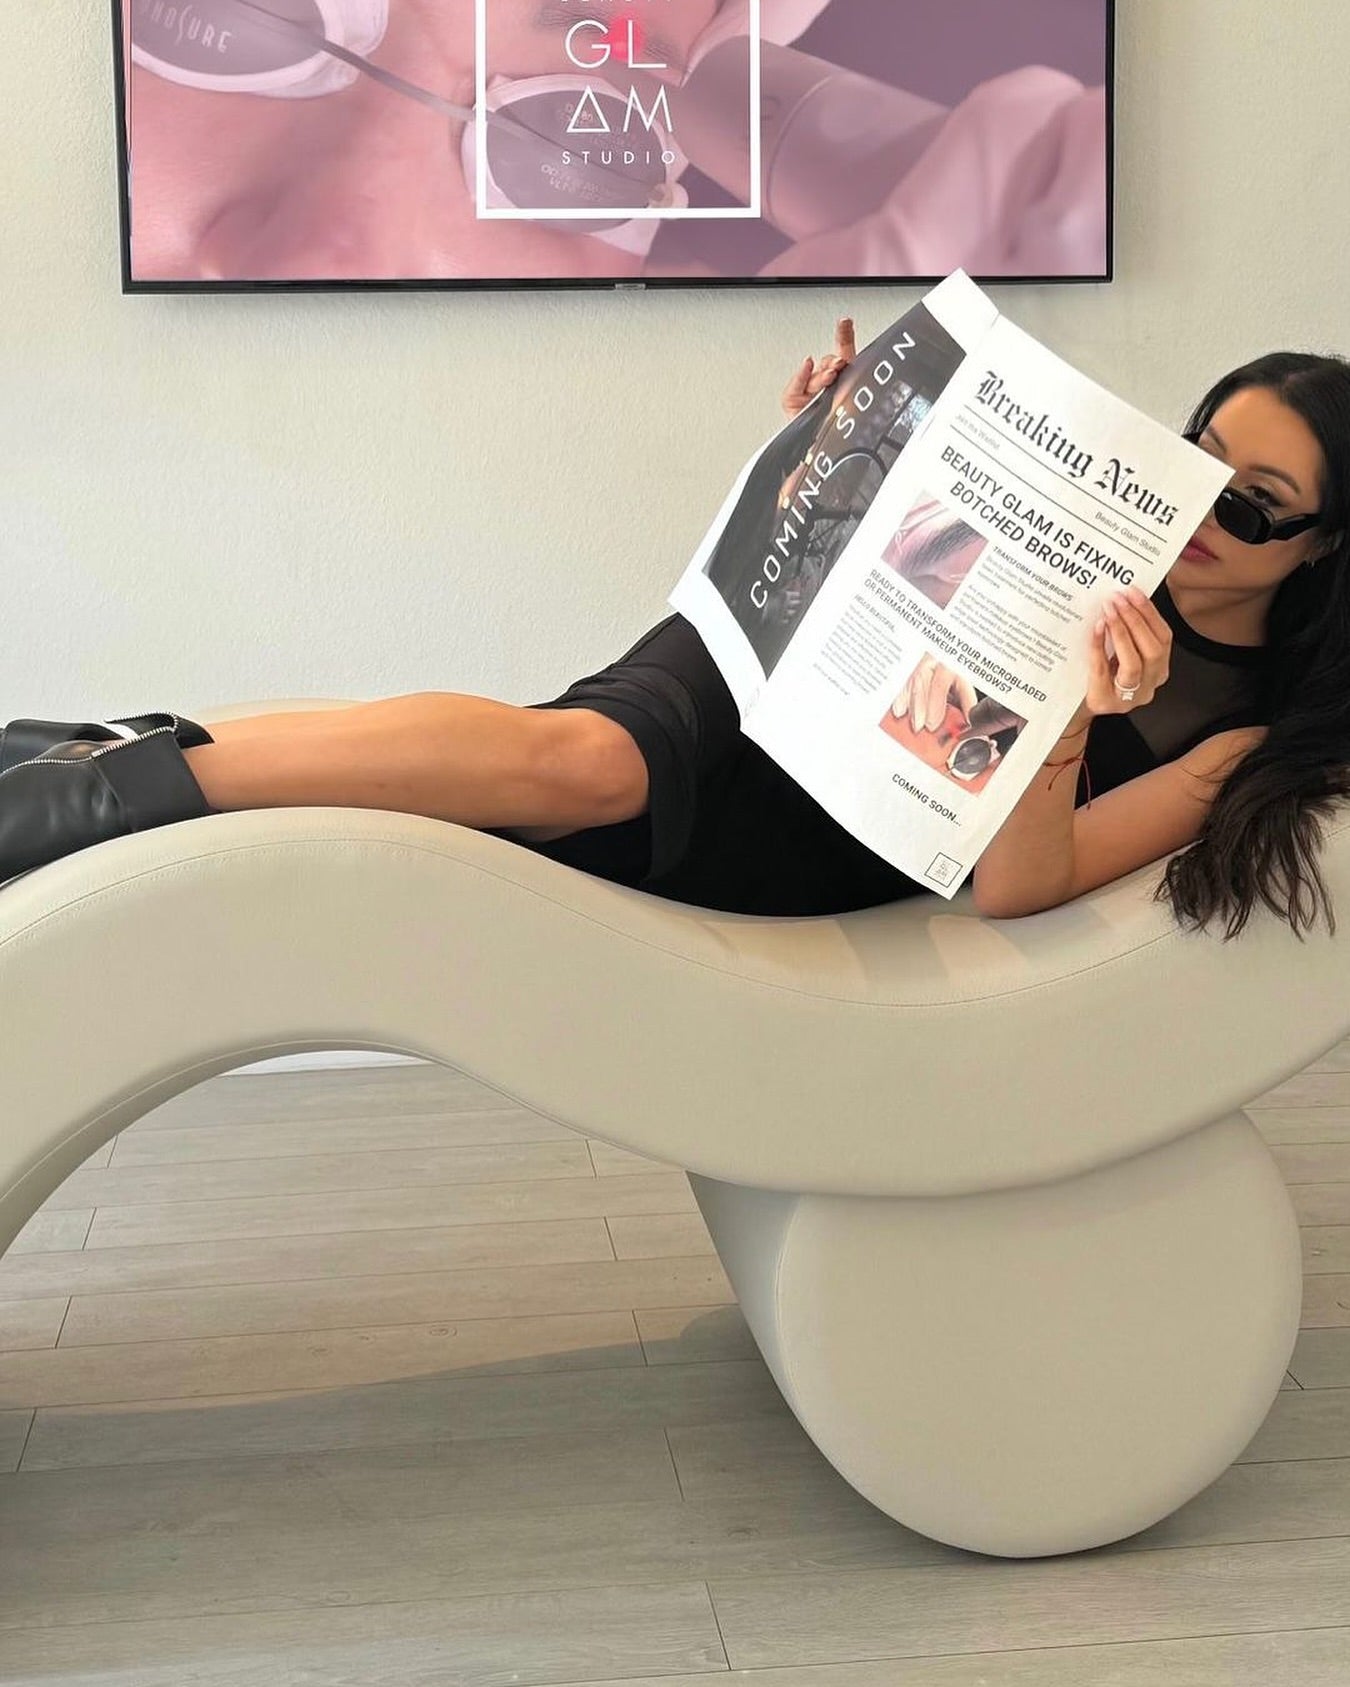
The Numbers That Matter
Here's what we're hearing from lash artists who made this switch:
98% more comfortable — both for themselves and their clients. That means fewer muscle aches for you, and clients who don't complain about neck pain after their set.
93% saw their revenue increase. Some of that is because they can do more sets per day without exhaustion. Some of it is because clients book more frequently when they're actually comfortable. Some of it is because the room looks professional enough that they can charge what they're worth.
87% said Plush + Oak helped them attract clients. Your room is your showroom. When a potential client walks in and sees a beautiful, intentional, purpose-built lash bed — not a massage table with a pile of toppers — they make assumptions about your skill level and your standards. They're usually right.
94% said it improved client retention. Clients don't come back just because you're good at lashes. They come back because the whole experience felt worth their money and time. A comfortable bed is part of that. Feeling taken care of is part of that.
And if you ever share photos of your lash room on Instagram, you're one of the 68% of lash artists who saw their following grow after posting photos of their Plush + Oak bed.

Materials matter: Real wood reads as premium. Quality fabric upholstery reads as premium. Cheap plasticreads as budget. Invest in a few key premium pieces — primarily your treatment bed — and let those anchor the room.
The Business Case Is Simple
A quality lash bed costs less than three months of the extra revenue you'll make from higher pricing and better retention. You're not spending money. You're investing in equipment that pays for itself almost immediately.
And you're not just investing in comfort — you're investing in your body. Lash artists who spend years hunched over massage tables end up with chronic back pain, shoulder problems, and hand issues that can end their careers. A proper bed costs money. Years of spinal damage cost more.
Your room. Your body. Your business. They all deserve better than a massage table.
Head to plushandoak.com and set up your lash room the way thousands of booked-out artists already have.
Ready to build a lash room that does your marketing for you? Explore Plush + Oak lash beds → | Lash room furniture →
Written by Courtney Buhler


%0AYou%20started%20with%20a%20massage%20table.%20It%20made%20sense.%20It%20was%20affordable.%20It%20was%20available.%20And%20it%20looked%20professional%20enough....)